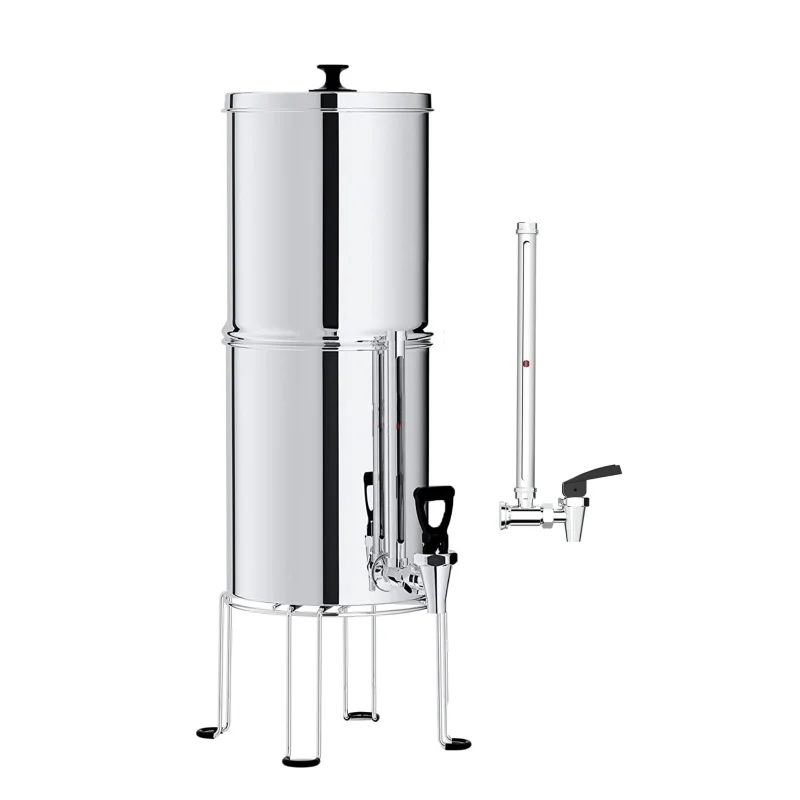
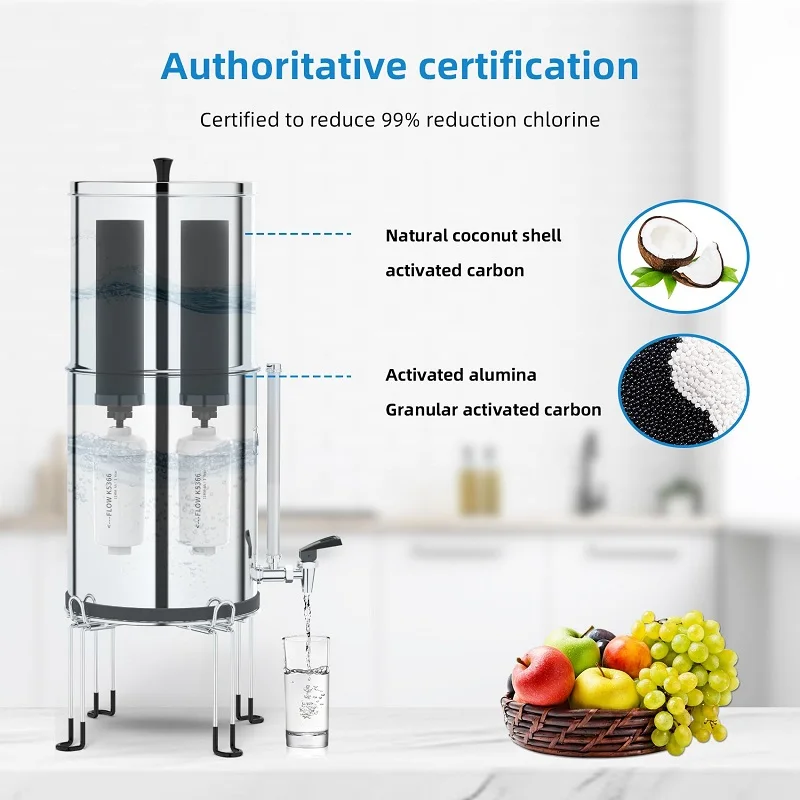
Having clean water at home are very important. Many people use a water filter for their kitchen sink to make sure the water they drink is safe and taste good. UR-HEALTH provide great water filters that help remove dirt, chemicals, and bad smells from tap water. This mean that when you pour a glass of water, it not only looks clear but tastes fresh and clean. Using a water filter can help keep you and your family healthy by ensuring the water you drink is free from harmful substances. So, we will talk about the benefits of having a water filter and how to choose the best one for your kitchen sink. For example, the Ur-health Gravity Fed Water Filtration System Stainless Steel Water Filter is a great option to consider.
how to install under sink water filter
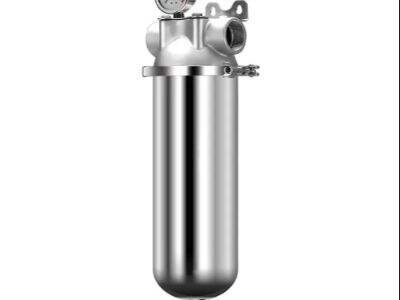
Installing a under-sink water filter are a good way to ensure you got clean and safe water for drinking. If you looking to make better the water quality at home, this is a fine option. With stuff like UR-HEALTH products, you can have fresh water stra...
View More